Quickstart
Connect your first device in under 5 minutes.
1. Create your account
Go to console.iotmer.com and click Sign Up.
After registration, check your inbox for a verification email. The console is fully functional only after verifying your email.
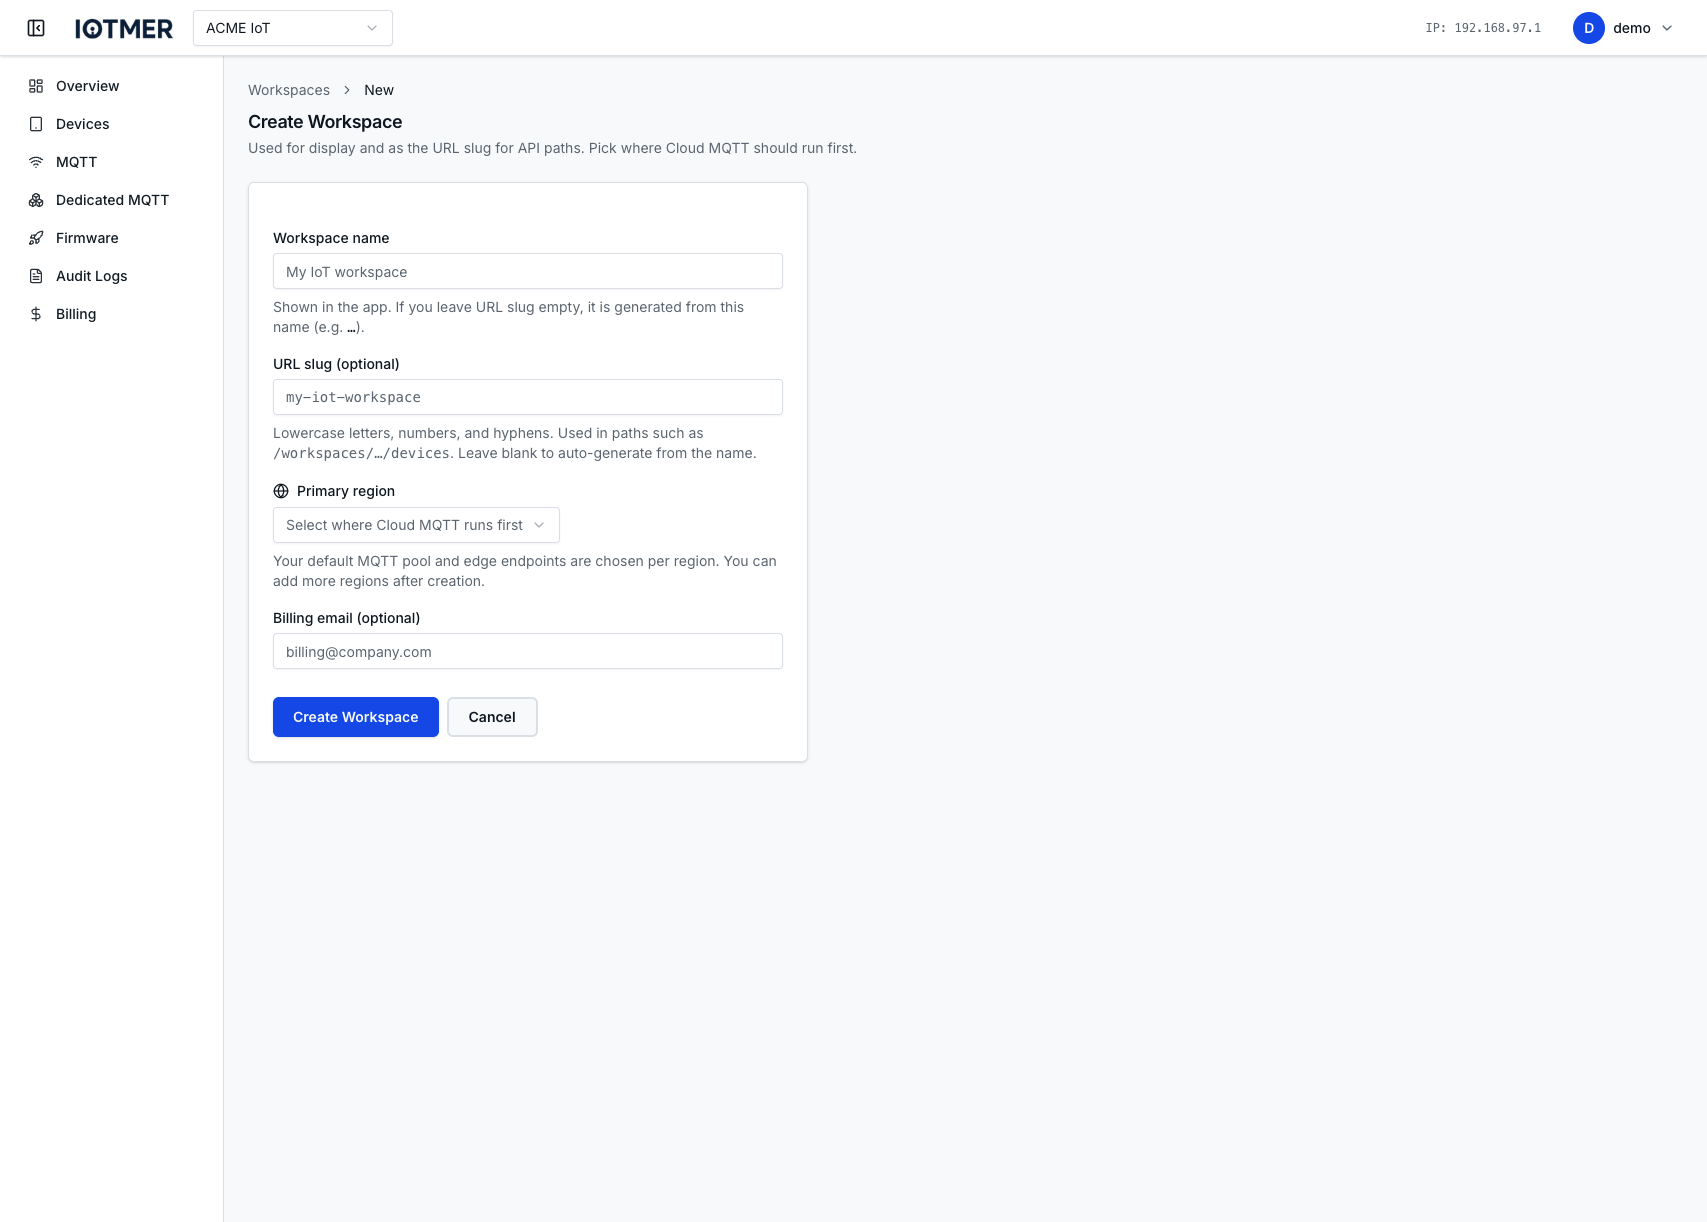
2. Create a workspace
A workspace is the top-level container for your devices, MQTT credentials, billing, and team members.
First-time sign-in: the console runs a short onboarding wizard (workspace name → endpoint → credentials → done). Example workspace name: Acme IoT.
Later, or from the menu: open your avatar → New Workspace, pick a name and primary region, then create.
3. Enable MQTT (Cloud Shared)
Navigate to MQTT → Cloud MQTT in your workspace and activate your preferred region. This provisions a shared MQTT broker endpoint for your workspace immediately — no infrastructure setup required.
4. Create a device template (optional but recommended)
Templates define the device model: model key, capabilities / capability definitions (JSON), default configuration, optional auto device key (serial pattern), and default MQTT ACLs. Optionally start from an IOTMER platform example in the first dropdown to pre-fill the form and inspect a reference. Custom metadata for devices is configured separately under Devices → Custom Fields.
- Go to Devices → Device templates → New device template
- Fill the form (add at least one default MQTT ACL route before saving)
- Save
5. Create your first device
- Go to Devices → New
- Select a template (or create a blank device)
- Click Create — the device gets its MQTT credentials automatically
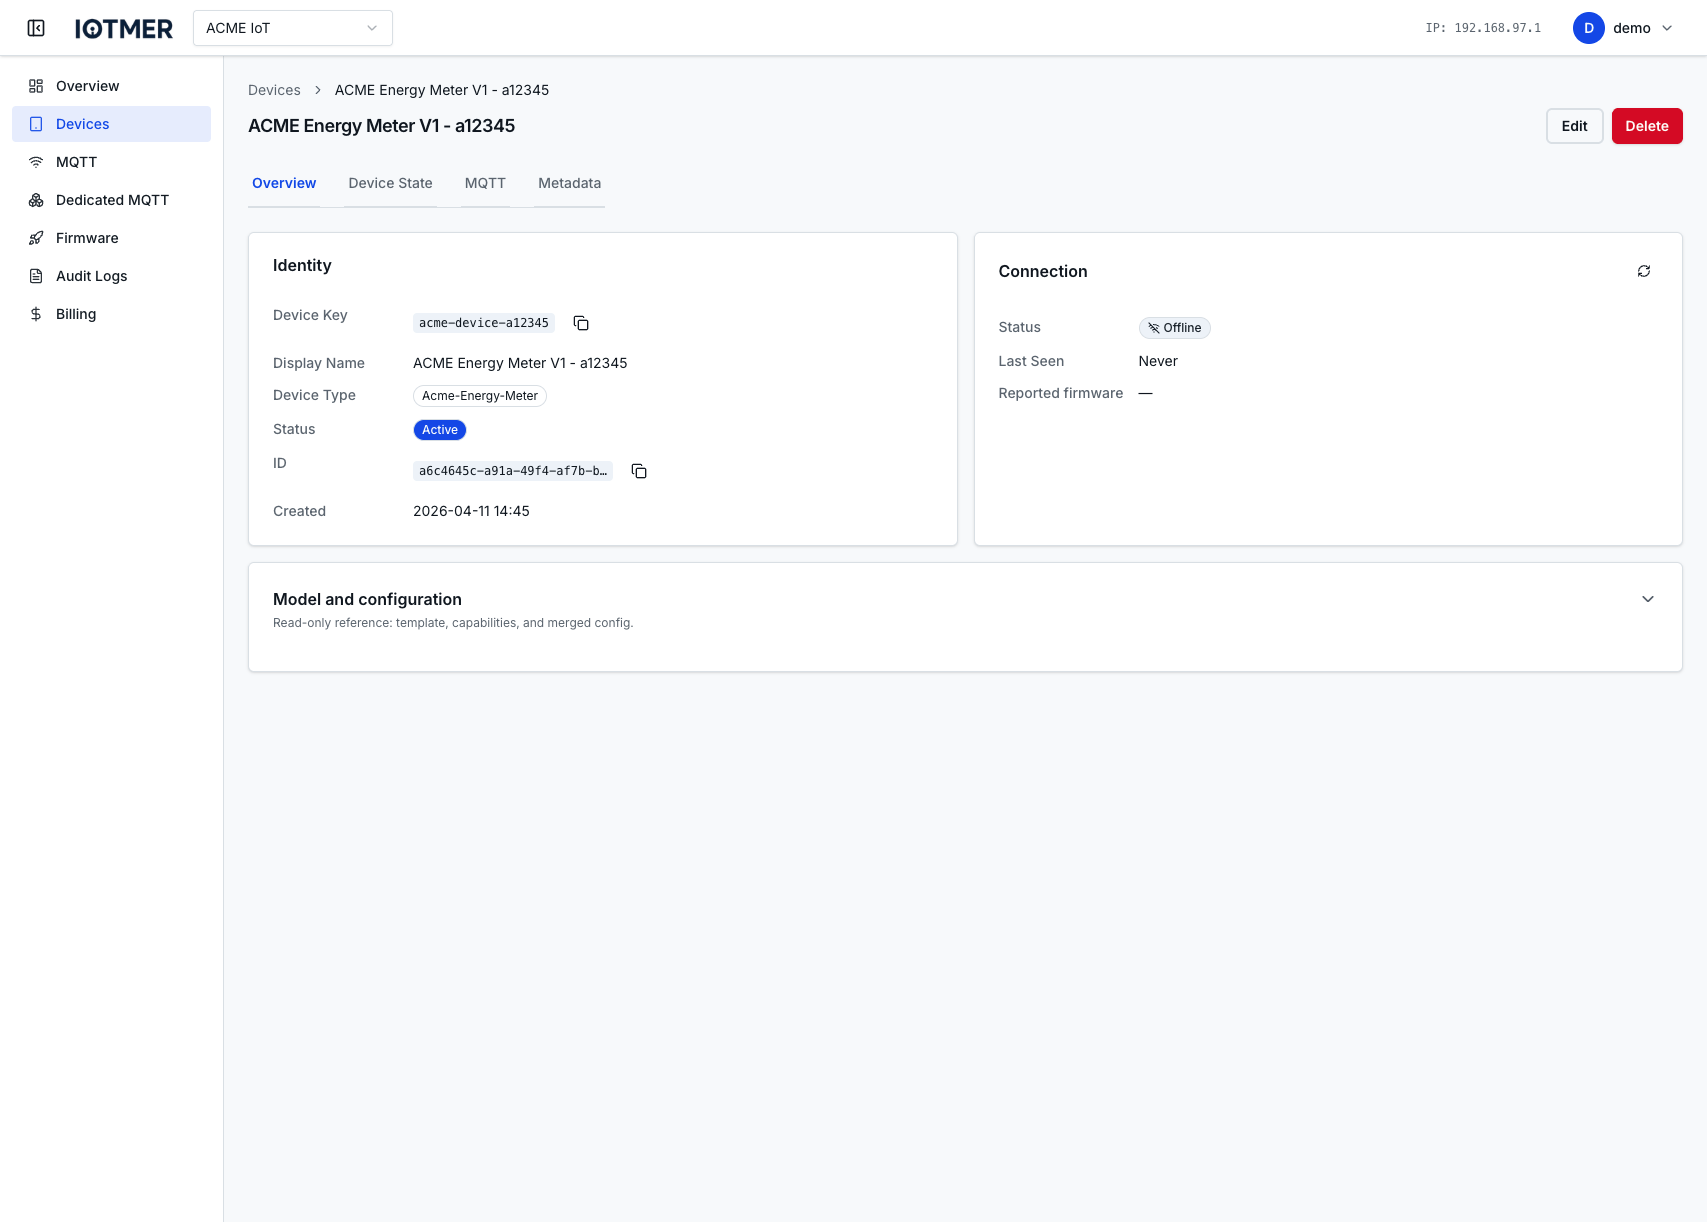
6. Connect via MQTT
Use the credentials shown on the device page to connect:
- mosquitto_pub
- Python (paho-mqtt)
- Go
mosquitto_pub \
  -h mqtt.iotmer.cloud \
  -p 8883 \
  -u <device-username> \
  -P <device-password> \
  --cafile ca.crt \
  -t "workspace_slug/devices/<device-id>/telemetry" \
  -m '{"temp": 22.5}'
import paho.mqtt.client as mqtt

client = mqtt.Client()
client.username_pw_set("<device-username>", "<device-password>")
client.tls_set()  # uses system CA bundle
client.connect("mqtt.iotmer.cloud", 8883)
client.publish("workspace_slug/devices/<device-id>/telemetry", '{"temp": 22.5}')
client.disconnect()
opts := mqtt.NewClientOptions().
    AddBroker("tls://mqtt.iotmer.cloud:8883").
    SetUsername("<device-username>").
    SetPassword("<device-password>")

c := mqtt.NewClient(opts)
if token := c.Connect(); token.Wait() && token.Error() != nil {
    panic(token.Error())
}
c.Publish("workspace_slug/devices/<device-id>/telemetry", 0, false, `{"temp": 22.5}`)
Next steps
- Manage devices at scale — bulk operations, custom fields, state tracking
- MQTT ACLs — restrict what each device can publish/subscribe
- API Keys — integrate your backend with the REST API