First-Time Onboarding
After registration, email verification when required, and your first successful login, IOTMER walks you through creating your first workspace and turning on a cloud MQTT endpoint in a short wizard.
Wizard overview
The header shows your progress:
Create → Endpoint → Ready → Done
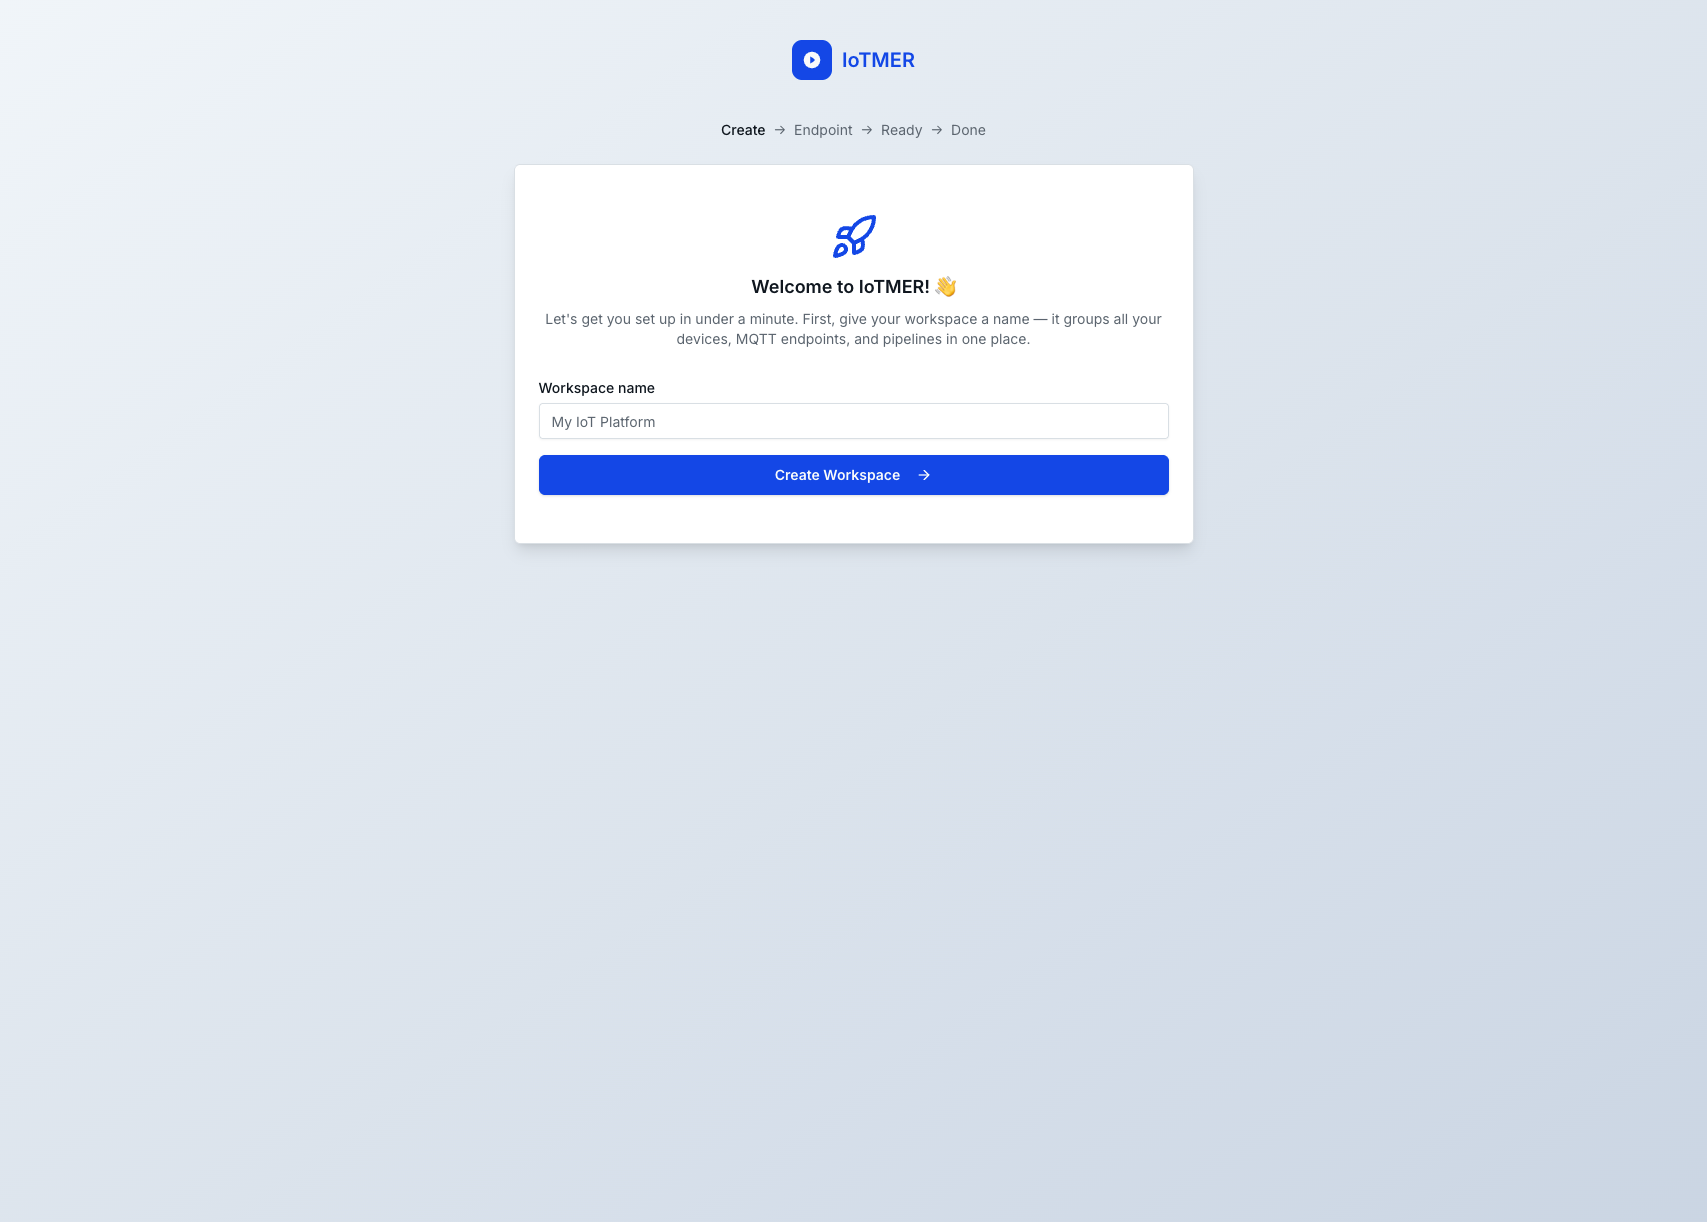
Step 1 — Create (workspace name)
Give your workspace a name. It is the top-level container for devices, MQTT endpoints, and pipelines.
Example: enter Acme IoT as the workspace name, then click Create Workspace →.
Step 2 — Endpoint
Confirm how your workspace should use managed MQTT (for example, enable Cloud Shared in your chosen region). The exact options depend on product defaults at signup time. Proceed when you are satisfied with the selection so the platform can provision the endpoint.
Step 3 — Ready (MQTT credentials)
When provisioning finishes, you see a confirmation that your workspace is live, together with connection values for the IOTMER cloud MQTT endpoint.
The username and password on this screen are shown a single time. Copy them to a password manager or other secure store before you leave the page. If you lose them, rotate or recreate credentials from the console or API instead of expecting them to appear here again.
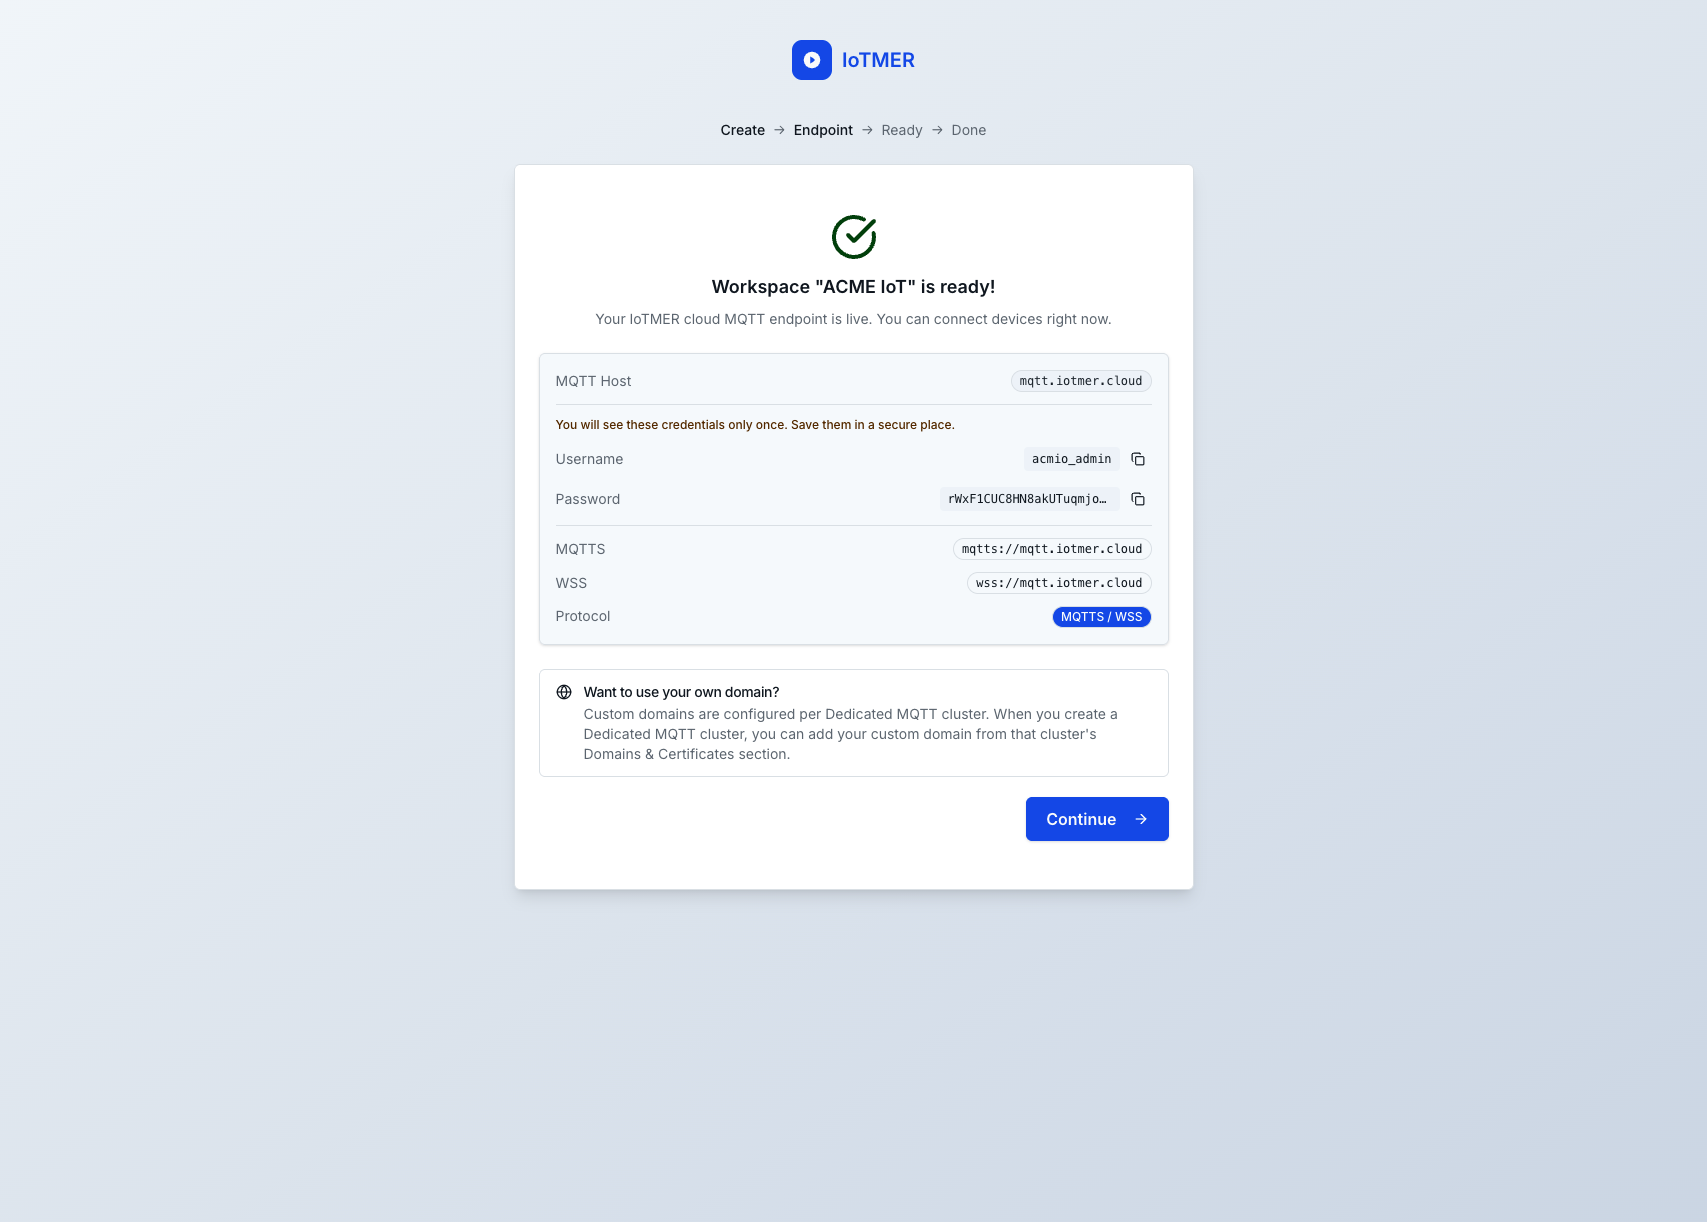
Typical fields include:
- MQTT Host — e.g.
mqtt.iotmer.cloud - Username and Password — initial admin-style credentials for connecting to the shared endpoint
- MQTTS URL and WSS URL — TLS MQTT and WebSocket URLs you can paste into clients or firmware
Use the copy buttons beside each value to avoid typos.
Custom hostname
To serve MQTT on your own domain, configure that on a Dedicated MQTT cluster (per cluster: Domains & Certificates). See Dedicated MQTT clusters and Custom domains.
Step 4 — Done
Click Continue → to open the main console. You can always review or extend MQTT setup under MQTT → Cloud MQTT.
Next workspaces
The full-screen onboarding flow is aimed at your first workspace. For another workspace later, use the account menu (New Workspace) as described in Create a workspace.